Upwork is one of the best freelancing platforms that you can use to get online jobs. It is a great platform and you can create an account through a few steps easily. Simply open the official site and sign up for a free account.
To create an account that will be approved needs you to be keen and professional. It is important to know the specific things that determine whether your Upwork account will be approved or rejected.
In this article, I will share with you the best way to create an Upwork profile that will be approved.
Step 1: Open a free account
First, create a free Upwork account using your email address. The system will verify your email account whether it is existing and redirect you to another page. It should take less than a minute. While choosing an email, ensure it is one that you often use to prevent you from missing important information.
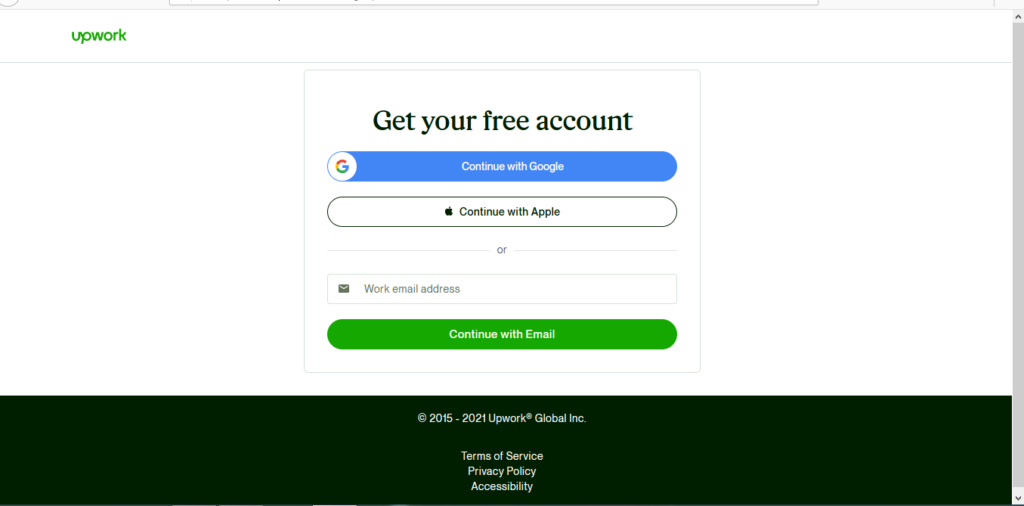
Step 2: Input correct details
On the next page, input your real names, and create a password. Make sure you input a password you can easily remember to prevent you from being locked out. Moreover, choose an easy-to-remember username for accessing your Upwork account.
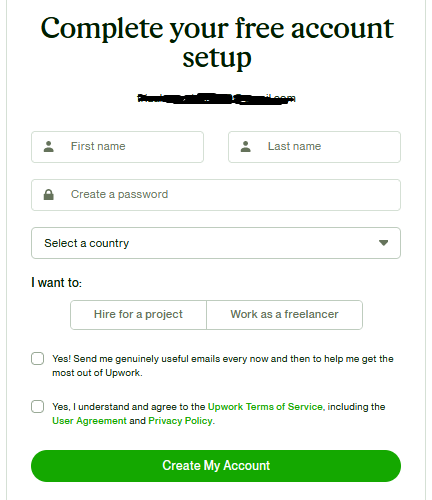
Step 3: Validate your email
After creating your account, you will be required to validate the email. Click on the email that will be sent to your email account. If you don’t get the email, you can resend the verification email again. Remember to check your junk folder if you don’t find it in your inbox. It will then redirect you to another page.
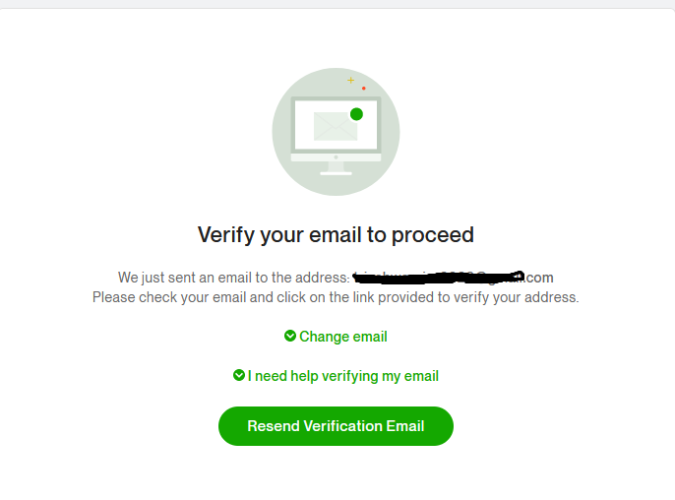
Step 4: Fill in the details in your profile.
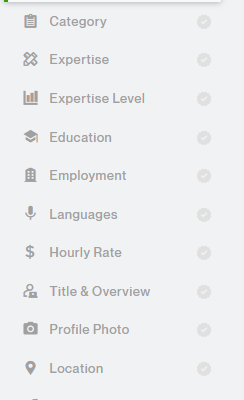
You will need to fill in all your personal details to create your Upwork account. As long as you are truthful while making your account, you will be able to create an account easily. You can decide to fill out the information manually, upload your resume, or upload using your LinkedIn profile.
Step 5: Choose a category
When choosing a category, be cautious of the one you choose. You can choose between Accounting & Consulting, Admin support, customer service, data science & analytics, design & creative, engineering & Architecture, IT & networking, legal, sales & marketing, translation, Web, mobile & software development, and Writing.
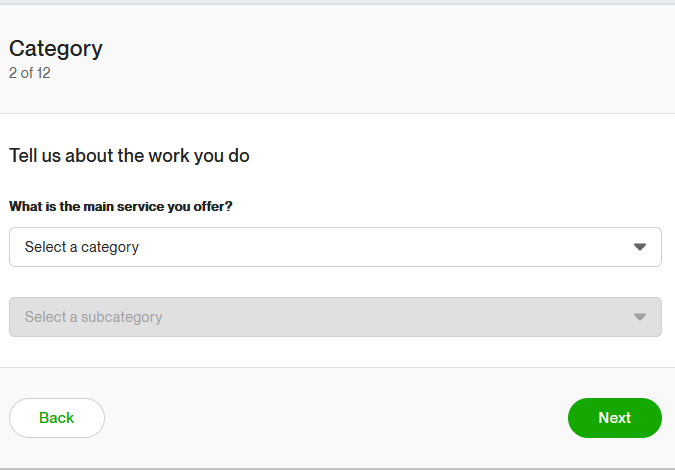
While choosing a category, there is a trick. If you choose any of the categories, under the subcategories, ensure they are related to the category you choose. Also, be cautious of the category you choose because it will have an impact on the number of jobs you get or whether your Upwork account will be approved.
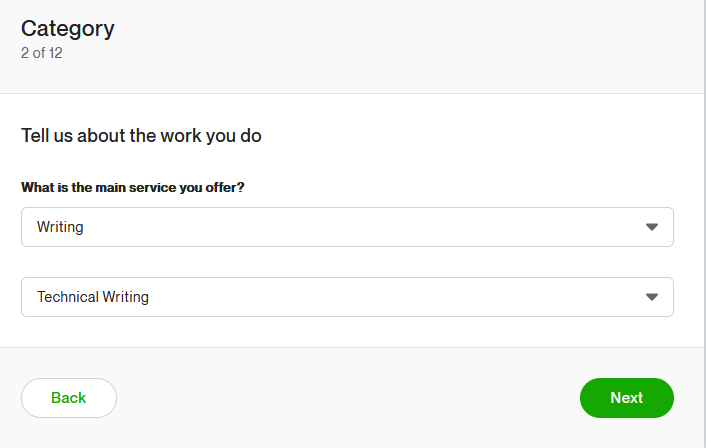
If you want to get writing tasks, choose the writing category. To ensure your account gets approved, don’t be a jack of all trades. Choose a subcategory and skills related to the main category you choose.
Step 6: Choose Upwork skills
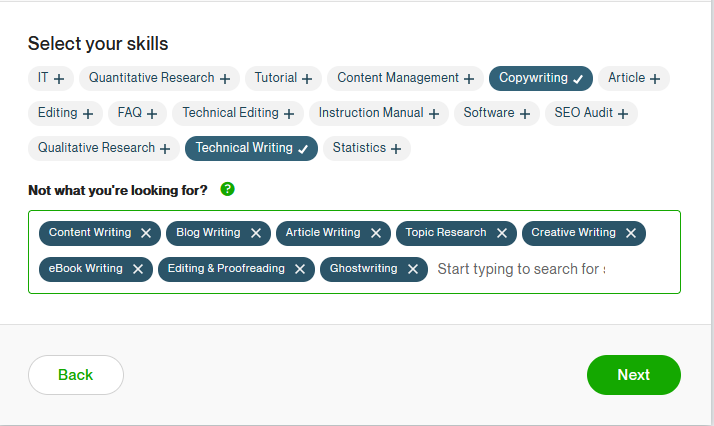
Choose skills that align with the category and sub-category that you had chosen. In our case, we have chosen Writing > Technical writing. Hence, the skills need to align with the writing tasks. One of the secrets to getting your Upwork profile approved is by choosing the right skills.
Here is a sample:
Step 7: Choose your experience level
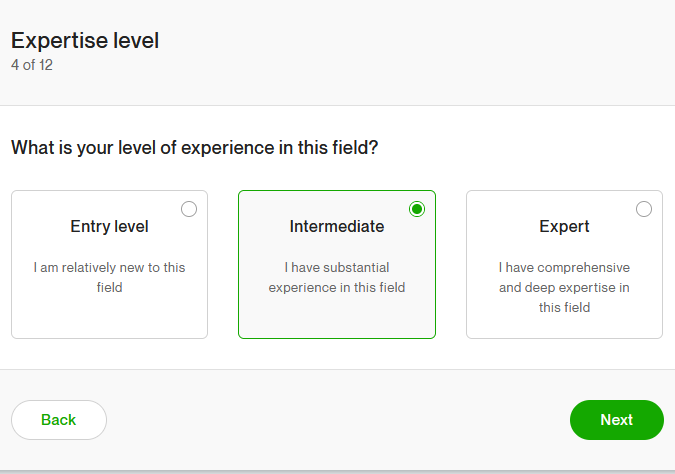
This depends on your experience level in the specific field. If you are just starting, you can choose entry-level, if a bit experienced, choose intermediate and if you are an expert choose Expert.
Step 8: Education level and employment level
Add all the relevant education you have ever had. This will help in proving to clients the kind of knowledge that you have. Also, ensure you write valid information. You can add as many courses as possible that you have undergone.
In addition, be sure to add your employment information. Ensure it is relevant to the field you have chosen. The more the roles are related to the Upwork field you have chosen, the higher the chances of getting work.
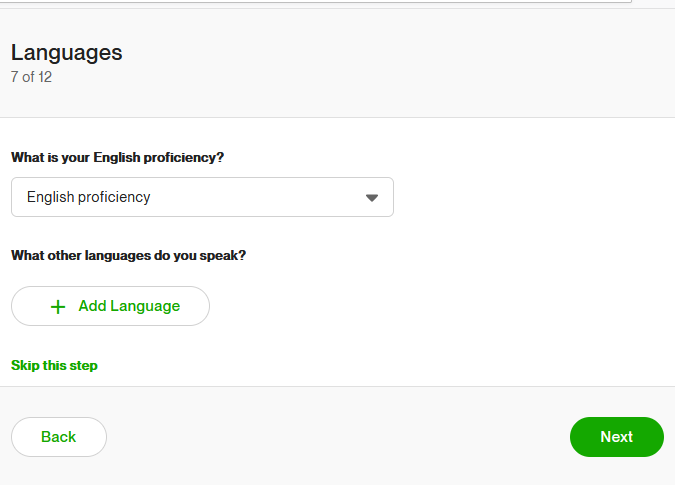
Step 9: Choose languages and hourly rate.
Choose all the languages that you know. If you choose the translation category, it will be wiser if you know various languages that will help you be a level ahead. While choosing an hourly rate, you can start with $5 then increase with time. If you choose a way higher rate in your entry level, it may reduce your chances of getting good work.
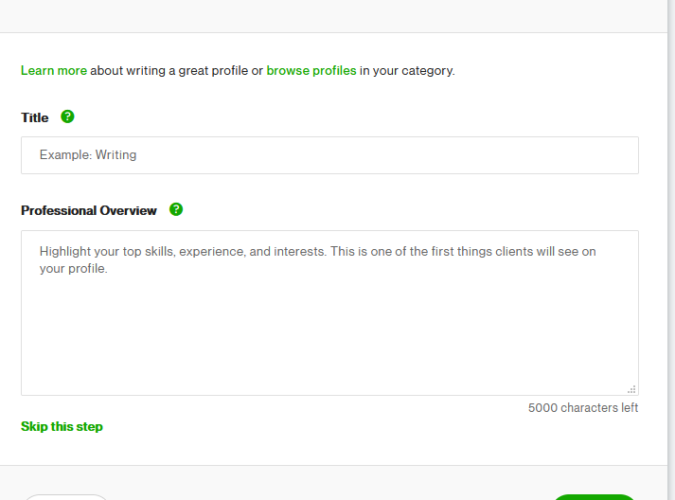
Step 10: Title and overview
This is one of the most crucial parts, ensure you provide an attractive, professional overview that will help the clients to connect better with you. If you don’t know how to write one, you can browse through other freelancer’s profiles and get an idea of how to write a personalized overview. However, don’t copy, ensure you write something original that talks fully about you and your capabilities. This part helps to sell you. It provides a bio about you.
Step 11: Choose a profile photo, location, and contact information
Choose a professional profile photo that mostly shows your face. If you put a picture that doesn’t show your face clearly, it can reduce your approval rates on Upwork. Hence, choose a photo that is clear and shows your face well. “Passport” kind of photo will work best.
Choose the specific location and country you are from. Also, input the right contact information. This is essential as it will come in handy even when you will be choosing the payment methods you want. The names on your account should align with the names on your bank account, PayPal, Payoneer, and any other account.
After you are done, submit your account for approval.
Approval and rejection of your Upwork account
If your account gets approved, you will get a success message telling you that you can now apply for work. This happens immediately.
However, if your account is rejected, you will be notified to wait for the Upwork team to review your account. If you get that notification, know that your account has been rejected.
All the best in creating an Upwork account. I hope this information was useful. 🙂 If you have an issue with creating an Upwork account, talk to us, we will guide you.
Trizah provides writing assistance (blog writing, web content writing, e-book writing, technical & documentation writing, ghost writing, copy writing & other writing forms), coaching, web development, market research, product research, app testing, and virtual assistant services.
Her educational background in writing, website design, and community development has given her a broad base from which to approach many topics. She has also worked independently on Upwork. She also enjoys embracing innovations, art and new designs 🙂 Hire Trizah for your online freelance services today!
X (Formerly Twitter)||Linkedin||Medium||Instagram
My blogposts can be found here.
Discover more from Intela Designs
Subscribe to get the latest posts sent to your email.
7 Responses
Hi, I do believe this is a great website. I stumbled upon it 😉 I will revisit once again since I have bookmarked it.
Thank you.
Great post
Thanks for your marvelous posting! I certainly enjoyed reading it.
Thank you for the informative blog.
It’s really a great and useful piece of info. I am happy that you simply shared this helpful information with us. Please keep us informed like this. Thank you for sharing.
Fantastic post, very informative.